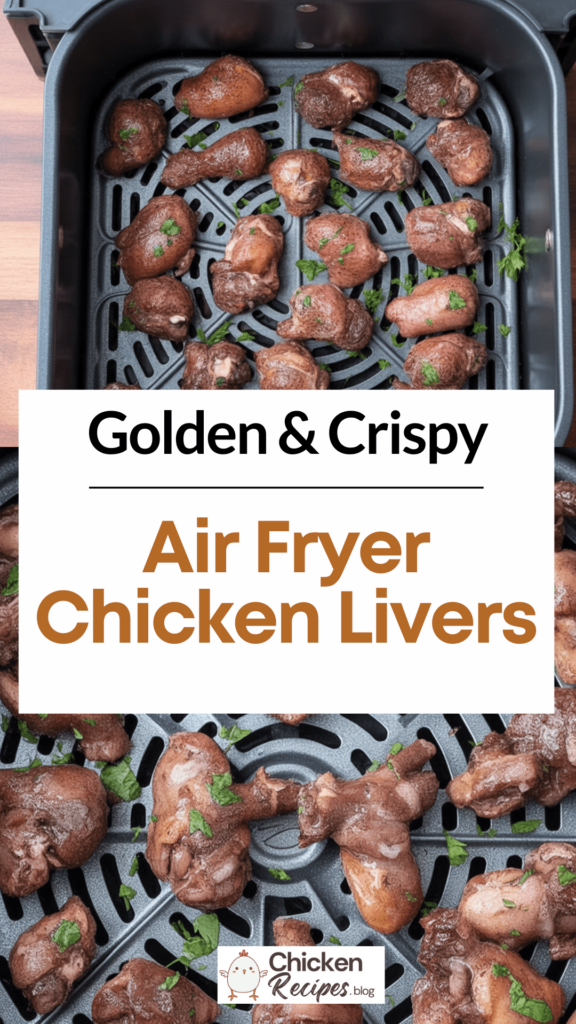
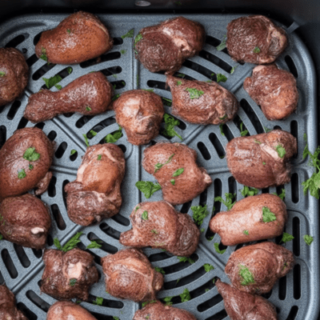
These air fryer chicken livers are golden and crisp on the outside, tender and melt-in-your-mouth on the inside — a total game-changer for anyone who’s been unsure about liver. Once you try them this way, you’ll want to make them on repeat!

Give Chicken Livers Another Shot
If you’ve always skipped over chicken livers thinking they were dry, bland, or too strong in flavor — I’ve been there. But this air fryer method brings them back to life. The high heat gets them just right: perfectly browned on the outside while keeping the center soft and creamy.
The real kicker is the garlic and onion seasoning — simple but packed with flavor. And the best part? Minimal prep, no mess, and they’re ready in under 15 minutes. Just toss, air fry, and serve.
Why You’ll Love This Recipe
- You’ll get a beautifully crispy crust without deep frying.
- They’re loaded with iron and B vitamins — a great boost of nutrition.
- Quick enough for busy weeknights — no fuss, just fast comfort food.
Ingredients You’ll Need
Chicken Livers
Go for fresh ones with a deep reddish color. If they’re on the larger side, cut them in half so they cook evenly and crisp up better.
Seasonings
I like a simple combo of garlic powder, onion granules, salt, and black pepper. But you can mix in other favorites like smoked paprika, cayenne, or even some dried thyme.
Olive Oil Spray
Just a light spritz is enough to help them brown nicely in the air fryer.
Pro Tip: Soak First
For extra tenderness and to mellow the flavor, soak the chicken livers in milk or buttermilk for at least 30 minutes before cooking. I sometimes leave them for a couple of hours if I have time — makes a big difference.
How to Make Air Fryer Chicken Livers
- Prep the Livers
Rinse the chicken livers gently under cool water and pat them dry with a paper towel. Trim off any visible connective tissue or fat if needed. - Season Them Up
In a bowl, toss the livers with garlic powder, onion granules, salt, and pepper until they’re well coated. - Preheat the Air Fryer
Set your air fryer to 400°F (200°C). - Arrange and Spray
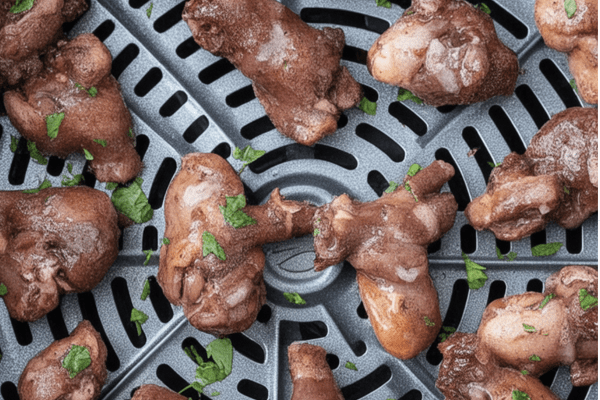
Place the seasoned livers in the basket in a single layer — no stacking. Spray them lightly with olive oil. You might need to cook in batches if you’re making a lot. - Cook and Flip
Air fry for 6 minutes. Flip them over, spray again with a touch of oil, and cook for another 6 minutes. - Check for Doneness
They’re ready when they’re no longer pink in the center and feel firm to the touch. If needed, give them another 1–2 minutes. For peace of mind, you can check with a meat thermometer — they should hit 165°F (74°C).
Recipe Notes & Helpful Tips
- Don’t be shy with the seasoning — garlic and onion powder bring these livers to life.
- Want a little kick? Add smoked paprika, Cajun spice, or your favorite herb blend to the mix.
- Make sure you flip halfway through to get that even golden crust.
- Avoid overcrowding the basket — it helps the livers crisp up instead of steaming.
How to Serve
These air fryer chicken livers are best served hot and fresh, straight from the fryer. I like pairing them with a squeeze of lemon and a sprinkle of chopped parsley. They also go great with a side of mashed potatoes, a warm grain bowl, or tucked into a pita with some slaw.
Storing & Reheating
Got leftovers? Store them in an airtight container in the fridge for up to 2 days. Reheat them in the air fryer at 350°F for about 3–4 minutes to bring back some of that crispiness. Just know they’ll never be quite as crispy as they were fresh — still tasty, though!
Air Fryer Chicken Livers
These air fryer chicken livers are golden and crisp on the outside, tender and melt-in-your-mouth on the inside — a total game-changer for anyone who’s been unsure about liver.
Ingredients
- 1 lb chicken livers
- 1 tsp garlic powder
- 1 tsp onion granules
- ½ tsp salt
- ¼ tsp ground black pepper
- Olive oil spray
Instructions
- Rinse the chicken livers under cold water, then gently pat them dry with paper towels. Trim off any visible fat or connective tissue as needed.
- Place the livers in a mixing bowl and add garlic powder, onion granules, salt, and pepper. Toss well to ensure the livers are evenly coated with the seasoning.
- Preheat your air fryer to 400°F (200°C).
- Arrange the seasoned livers in a single layer in the air fryer basket and lightly spray them with olive oil. To avoid overcrowding, cook in batches if necessary.
- Air fry for about 6 minutes, then flip each piece and spray a little more olive oil. Continue cooking for another 6 minutes.
- Check that the livers are fully cooked and no longer pink in the center, air frying for an extra 1–2 minutes if needed.
- Serve immediately while they're hot and crispy.
Nutrition Information:
Yield: 4 Serving Size: 1Amount Per Serving: Calories: 223Total Fat: 11gSaturated Fat: 3gTrans Fat: 0gUnsaturated Fat: 7gCholesterol: 638mgSodium: 377mgCarbohydrates: 2gFiber: 0gSugar: 0gProtein: 28g
Chickenrecipes.blog, occasionally offers nutritional information for recipes contained on this site. This information is provided as a courtesy and is an estimate only. This information comes from online calculators. Although allchickenrecipes.com attempts to provide accurate nutritional information, these figures are only estimates.
FAQs
Can I use frozen chicken livers?
Yes, but make sure they’re completely thawed and patted dry before cooking.
Why soak them in milk or buttermilk?
This helps to tenderize the livers and reduces any strong, metallic taste.
Can I make these ahead of time?
They’re best eaten right after cooking, but you can prep and season the livers in advance, then just air fry when you’re ready.
Are chicken livers healthy?
They’re a great source of iron, vitamin A, and protein — just be mindful of portion size if you’re watching cholesterol.
Try other recipes: