Chicken Kiev is a timeless dish that delivers a rich combination of crispy, golden-brown chicken stuffed with a garlic-infused butter. This elegant and flavorful meal originated in Ukraine and has since become a popular choice worldwide, gracing dinner tables from casual weeknights to special occasions.
Why You Will Love This Recipe
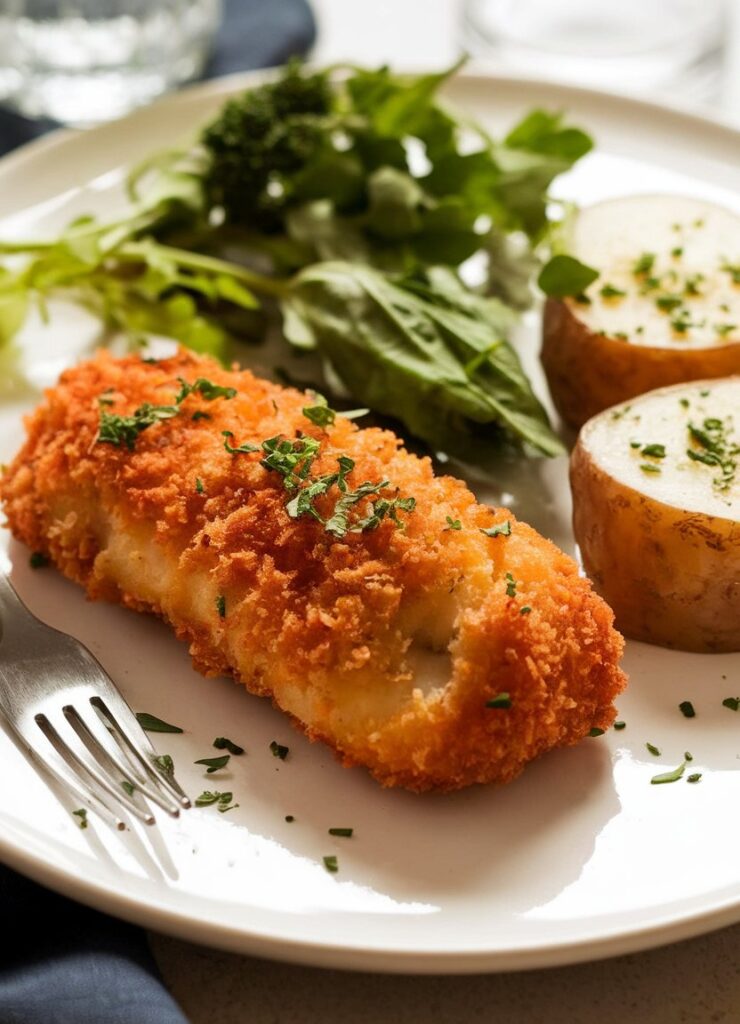
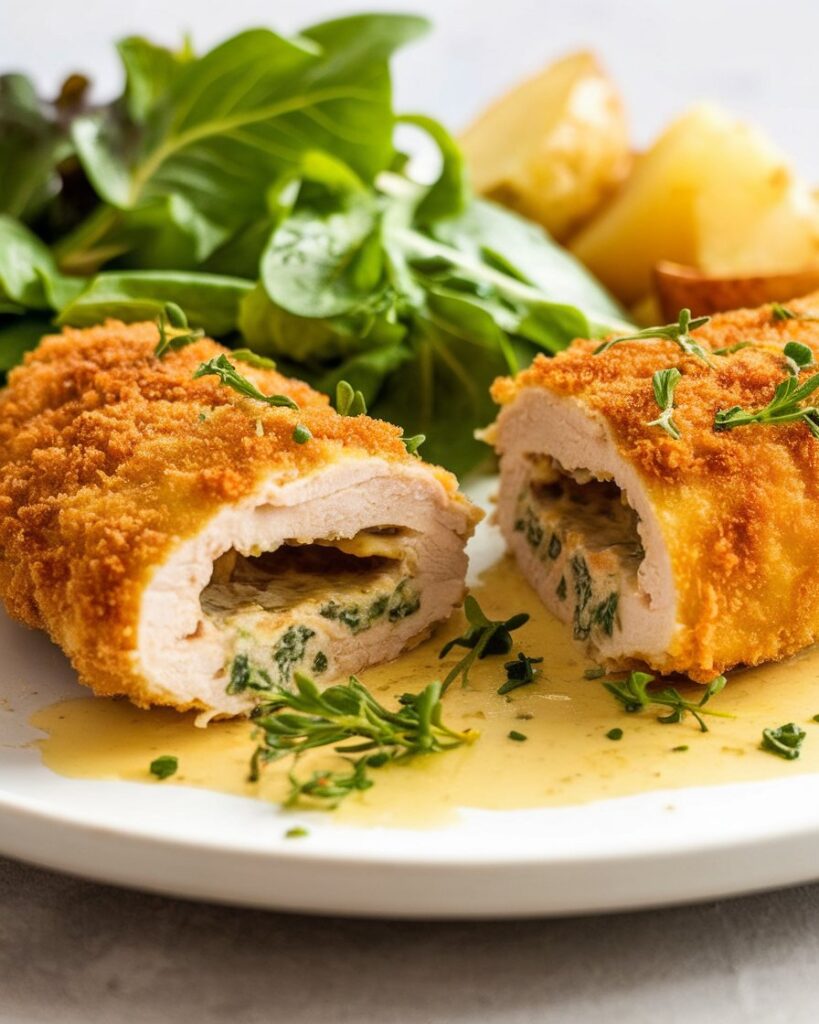
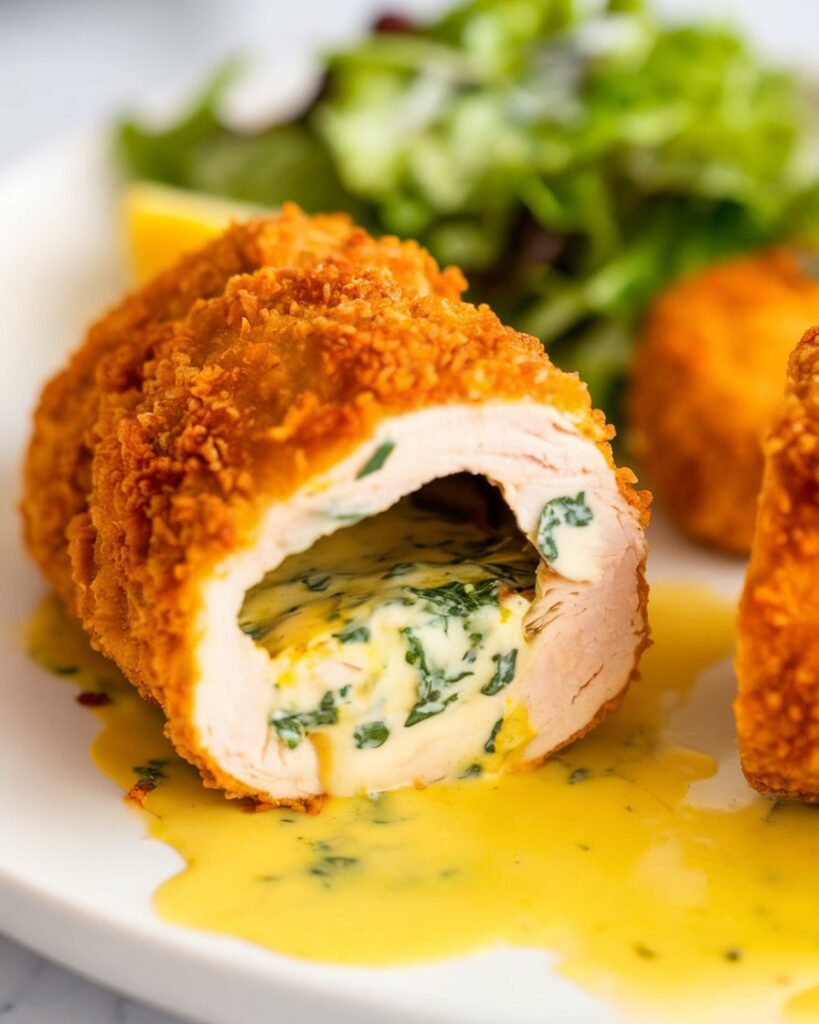
Chicken Kiev is the perfect blend of comfort and sophistication. It’s relatively easy to prepare, yet the rich flavors and impressive presentation make it feel like a dish you’d find in a fine-dining restaurant. The crispy outer layer contrasts beautifully with the melting, herb-filled butter that bursts out when you cut into it. It’s also a versatile dish, pairing perfectly with mashed potatoes, roasted vegetables, or a light salad. The best part? With a few simple ingredients, you can recreate this restaurant-quality dish at home!
Tips and Tricks for the Perfect Chicken Kiev
Use Boneless, Skinless Chicken Breasts: For a smooth and tender result, always use boneless, skinless chicken breasts. You can also pound them slightly to ensure even cooking and make them more manageable to stuff.
Chill the Butter: After preparing the garlic butter mixture, make sure to chill it in the refrigerator for at least an hour. This step ensures that the butter remains solid inside the chicken while it cooks, resulting in the perfect buttery surprise when you slice through the chicken.
Double Dipping for Extra Crispiness: For an extra-crispy coating, dip the chicken into the egg wash and breadcrumbs twice. This will create a thicker, crunchier crust that holds the flavorful butter in place as it cooks.
Cooking Temperature: Fry the chicken on medium heat, not high. This ensures that the coating gets crispy without burning while giving the chicken enough time to cook through. If you’re concerned about overcooking, you can finish the chicken in the oven after frying.
Rest the Chicken: Allow the chicken to rest for a few minutes after frying. This prevents the butter from spilling out too quickly when you slice into it and gives the chicken time to reabsorb its juices.
Variations of Chicken Kiev
While the classic Chicken Kiev is delicious on its own, there are a few variations you can try to give the dish your unique touch.
- Herb Variations: Experiment with the herb blend in the butter. Fresh parsley is traditional, but you can add thyme, tarragon, or dill for an extra layer of flavor.
- Cheese Stuffing: Some recipes incorporate a cheese element into the butter, such as cream cheese or grated Parmesan, to create a rich, creamy filling that complements the garlic.
- Stuffed with Mushrooms: If you’re a fan of mushrooms, consider adding finely chopped, sautéed mushrooms to the garlic butter for an earthy, savory twist.
- Air-Fried Chicken Kiev: For a healthier version, you can air-fry the chicken instead of deep-frying. Coat the chicken in breadcrumbs and lightly spray with oil before air frying to achieve a crispy exterior without the excess oil.
How to Serve Chicken Kiev
Chicken Kiev pairs beautifully with a variety of sides that can balance out its rich and buttery flavor:
- Mashed Potatoes: A creamy, buttery mashed potato side is a classic pairing with Chicken Kiev. The potatoes will absorb any excess garlic butter that oozes out, making for a delicious combination.
- Roasted Vegetables: Roasted carrots, broccoli, or asparagus bring a light, fresh flavor that cuts through the richness of the dish.
- Rice Pilaf: For something a bit more filling, serve Chicken Kiev alongside a fluffy rice pilaf with herbs or a simple lemon and herb couscous.
- Green Salad: A fresh green salad with a zesty vinaigrette helps balance the richness of the chicken. Consider arugula or spinach with lemon and olive oil dressing for a refreshing contrast.
How to Store Chicken Kiev
Chicken Kiev can be stored for later enjoyment if you have leftovers. Follow these simple steps to ensure the dish stays fresh:
- Refrigeration: Place any leftover chicken in an airtight container and store it in the refrigerator for up to 3 days. The garlic butter may solidify, but it will melt when reheated.
- Freezing: If you wish to store Chicken Kiev for a longer period, you can freeze it before cooking. After preparing the chicken and stuffing it with the garlic butter, wrap it tightly in plastic wrap and then foil. Freeze for up to 3 months. To cook, thaw it in the fridge overnight and fry or bake as usual.
- Reheating: Reheat leftover Chicken Kiev in the oven at 350°F (175°C) for about 10-15 minutes to keep the crust crispy. Alternatively, you can microwave it for a quicker option, but the breading may lose some of its crispiness.
Recipe FAQs
1. Can I use chicken thighs instead of chicken breasts for Chicken Kiev? While chicken breasts are traditionally used in Chicken Kiev, you can substitute chicken thighs if you prefer a juicier, more flavorful cut. Keep in mind that thighs may take slightly longer to cook than breasts.
2. Can I make the garlic butter in advance? Yes, you can make the garlic butter ahead of time. Simply prepare the butter mixture and store it in the refrigerator for up to 3 days. You can also freeze it for up to 3 months.
3. Can I bake Chicken Kiev instead of frying it? Yes, you can bake Chicken Kiev. To do so, preheat the oven to 375°F (190°C), place the stuffed chicken on a baking sheet, and bake for about 25-30 minutes, or until the chicken reaches an internal temperature of 165°F (74°C). While baking gives you a slightly lighter result, it still maintains the delicious flavor.
4. How do I know when the chicken is cooked through? To ensure the chicken is cooked properly, use a meat thermometer to check the internal temperature. It should reach 165°F (74°C). You can also check by slicing into the chicken to ensure it is no longer pink inside.
5. Can I make Chicken Kiev for a crowd? Yes, you can prepare Chicken Kiev for a larger group. Consider making individual portions or doubling the recipe as needed. If you’re cooking for a crowd, you can keep the cooked chicken warm in the oven at a low temperature while you finish preparing the rest of the meal.
Chicken Kiev
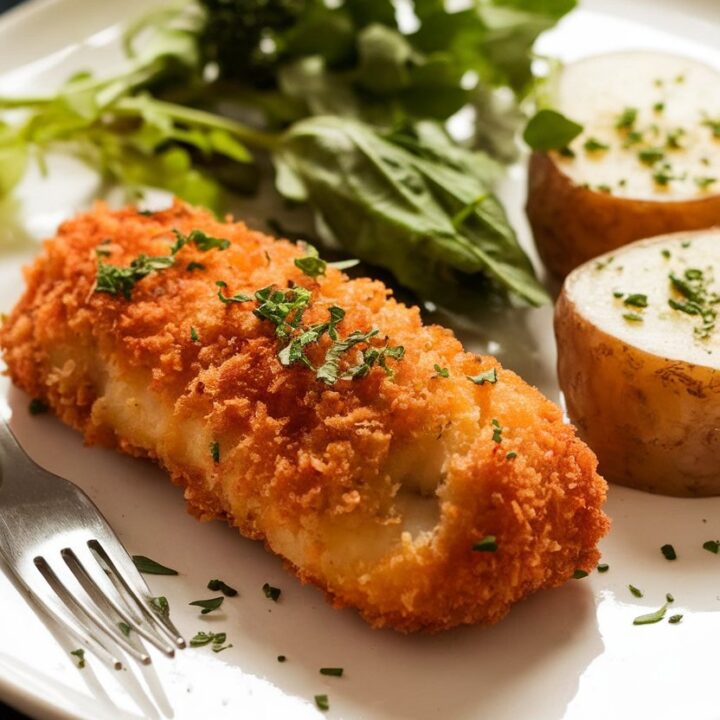
Chicken Kiev is a timeless dish that delivers a rich combination of crispy, golden-brown chicken stuffed with a garlic-infused butter. This elegant and flavorful meal originated in Ukraine and has since become a popular choice worldwide, gracing dinner tables from casual weeknights to special occasions.
Ingredients
Garlic Butter Filling:
- 6 tbsp unsalted butter (or salted butter), softened
- 2 tsp finely chopped parsley
- 2 garlic cloves, finely minced (about 2 tsp)
- 1/4 tsp salt (skip if using salted butter)
For the Chicken:
- 2 boneless, skinless chicken breasts (7-8 oz each)
- 1/2 tsp salt
- 1/4 tsp pepper
- 1 egg, lightly whisked
- 1/4 cup flour
- 1 cup panko breadcrumbs
- Oil for frying (about 4 cups)
For Serving:
- Fresh parsley, finely chopped (for garnish)
Instructions
- Prepare Garlic Butter: In a bowl, combine softened butter, chopped parsley, minced garlic, and salt. Mix until smooth.
- Shape and Chill Butter: Spread the garlic butter mixture onto parchment paper, shaping it into a 4x2.4” rectangle. Refrigerate until firm, then cut it into two batons.
- Pound the Chicken: Place chicken breasts between freezer bags or parchment and pound to an even thickness of about 0.2” using a meat mallet.
- Season the Chicken: Sprinkle both sides of the chicken with salt and pepper.
- Stuff and Roll: Place a butter baton in the center of each chicken breast. Fold the sides in and roll the chicken tightly, securing the seam side down.
- Freeze for Firmness: Wrap the chicken rolls in cling wrap, twisting the ends. Freeze for 30 minutes until firm to the touch.
- Coat in Crumbs: Set up three bowls for flour, egg, and breadcrumbs. Coat the chicken in flour, dip in egg, then coat in breadcrumbs, pressing gently to adhere.
- Freeze Again: Place the crumbed chicken back in the freezer for another 30 minutes to set.
- Fry: Heat oil in a pot to 375°F. Fry the chicken for 2-3 minutes until golden, turning carefully. The chicken will still be raw inside.
- Bake: Transfer the fried chicken to a rack and bake at 350°F for 15 minutes, or until the internal temperature reaches 150°F.
- Rest & Serve: Let the chicken rest for 2 minutes, then garnish with parsley and serve.
Nutrition Information:
Yield: 2 Serving Size: 1Amount Per Serving: Calories: 878Total Fat: 51gSaturated Fat: 25gTrans Fat: 0gUnsaturated Fat: 23gCholesterol: 287mgSodium: 1399mgCarbohydrates: 52gFiber: 3gSugar: 4gProtein: 50g
Chickenrecipes.blog, occasionally offers nutritional information for recipes contained on this site. This information is provided as a courtesy and is an estimate only. This information comes from online calculators. Although allchickenrecipes.com attempts to provide accurate nutritional information, these figures are only estimates.
Final Thoughts
Chicken Kiev is the epitome of a comforting yet elegant dish that’s sure to impress. Whether you’re making it for a special occasion or just looking to enjoy something delicious, this recipe will deliver flavors that are rich, buttery, and utterly satisfying. With the right technique, a few simple ingredients, and a bit of patience, you can enjoy the magic of homemade Chicken Kiev in the comfort of your own kitchen.
Try other easy chicken dinner recipes:
