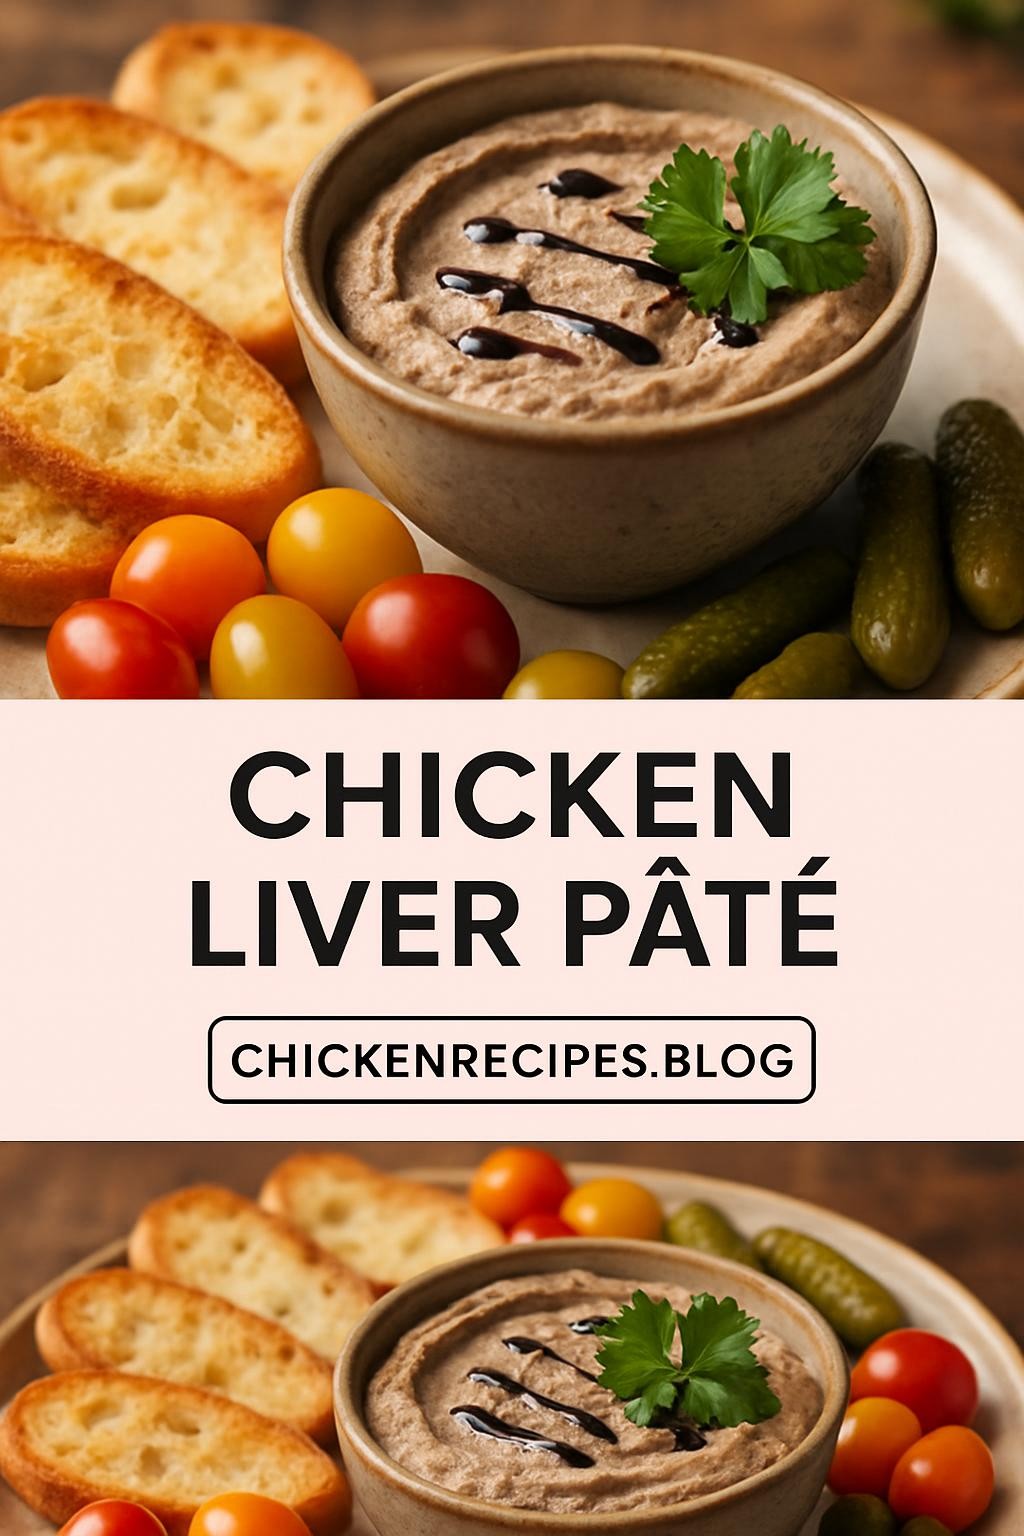
Chicken Liver Pâté is a luxurious and creamy spread that elevates any cheese board or appetizer platter. Made from sautéed chicken livers blended with aromatic herbs and spices, this dish boasts rich, savory flavors that are both indulgent and comforting. Whether enjoyed on toasted bread, crackers, or fresh veggies, Chicken Liver Pâté is a versatile dish that brings a touch of elegance to casual gatherings and special occasions alike.

Why You Will Love This Recipe
You will absolutely love this Chicken Liver Pâté because it delivers a burst of flavor with every bite. The combination of buttery chicken livers with aromatic shallots, garlic, and herbs creates a depth of taste that is hard to resist. It’s surprisingly easy to prepare, requiring minimal cooking skills and equipment, making it perfect for both novice cooks and seasoned chefs. Plus, it fits beautifully into various diets, including those looking for high-protein, low-carb options, and can even be made gluten-free, allowing everyone to enjoy this gourmet treat.
Tips and Tricks
- Use Fresh Ingredients: Opt for fresh chicken livers and high-quality butter for the best flavor. The fresher the ingredients, the richer the taste.
- Soak the Livers: If you have time, soak the chicken livers in milk for about an hour before cooking. This helps to mellow their flavor and improve texture.
- Don’t Rush the Sauté: Sauté the shallots and garlic slowly over medium heat to develop their sweetness and prevent burning.
- Blend Thoroughly: Ensure the pâté is blended until perfectly smooth, as this will give it that silky texture that is characteristic of a great pâté.
- Chill Well: Allow the pâté to chill in the fridge for several hours or overnight to let the flavors meld beautifully.
Make Ahead Tips
Chicken Liver Pâté is an excellent make-ahead dish! You can prepare it up to three days in advance. After blending, transfer it to an airtight container and store it in the refrigerator. This will not only save you time on the day of your gathering but also enhance the flavors as they meld together. If you want to prepare even further in advance, you can freeze the pâté for up to two months; just remember to thaw it in the fridge overnight before serving.
Recipe Variations
Get creative with your Chicken Liver Pâté by trying out different flavor profiles. You could add a splash of brandy or port for an extra layer of richness. For a spicy kick, incorporate a pinch of cayenne pepper or a few drops of hot sauce. If you prefer a herby touch, try adding fresh thyme, rosemary, or even a hint of sage. You can also swap out the butter for olive oil for a lighter version, though this may alter the final creaminess of the pâté.
How to Serve
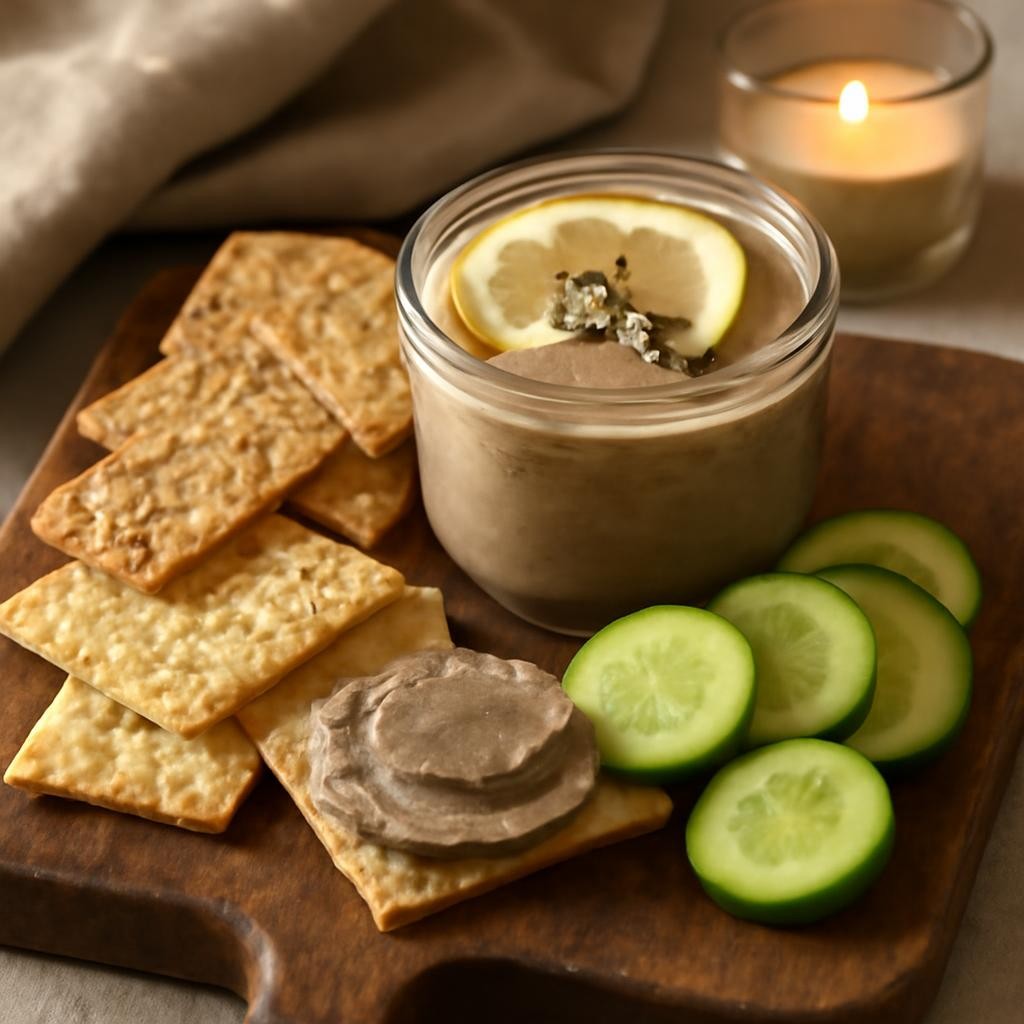
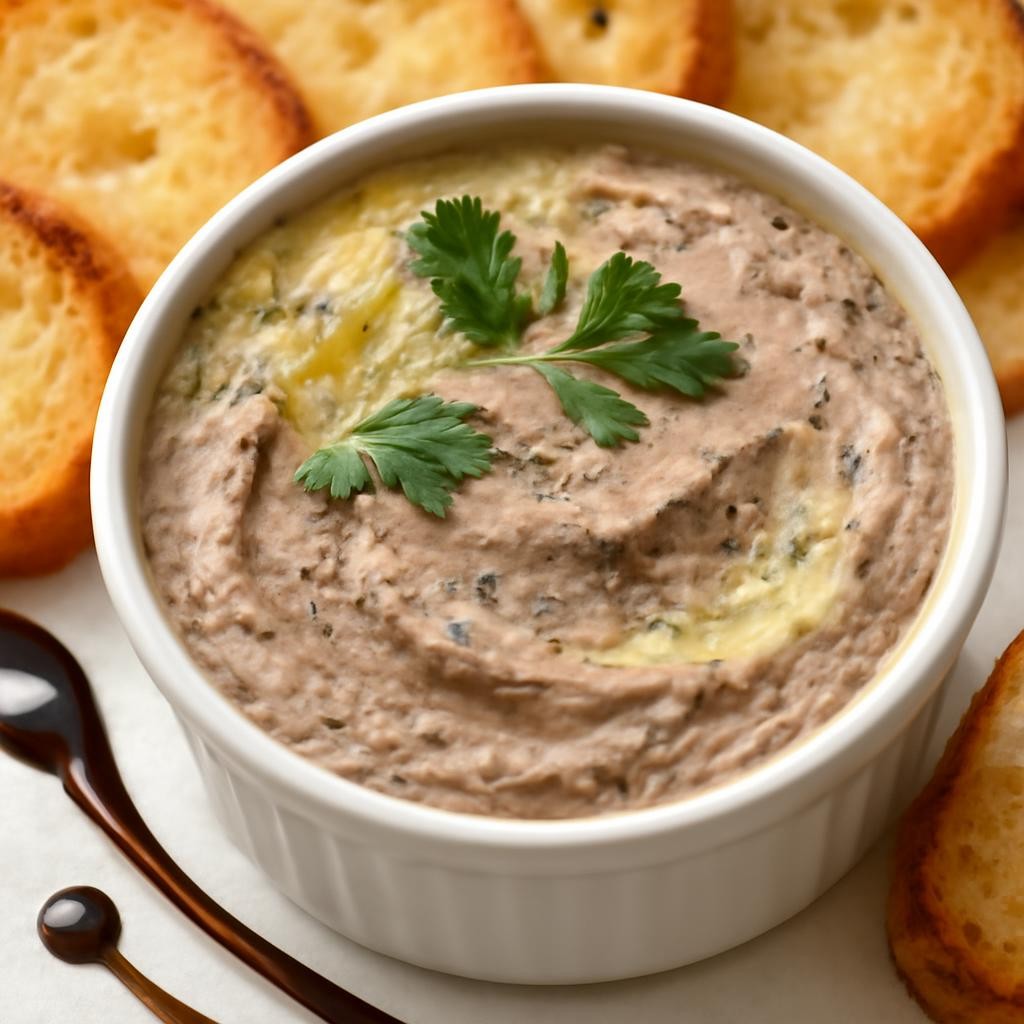
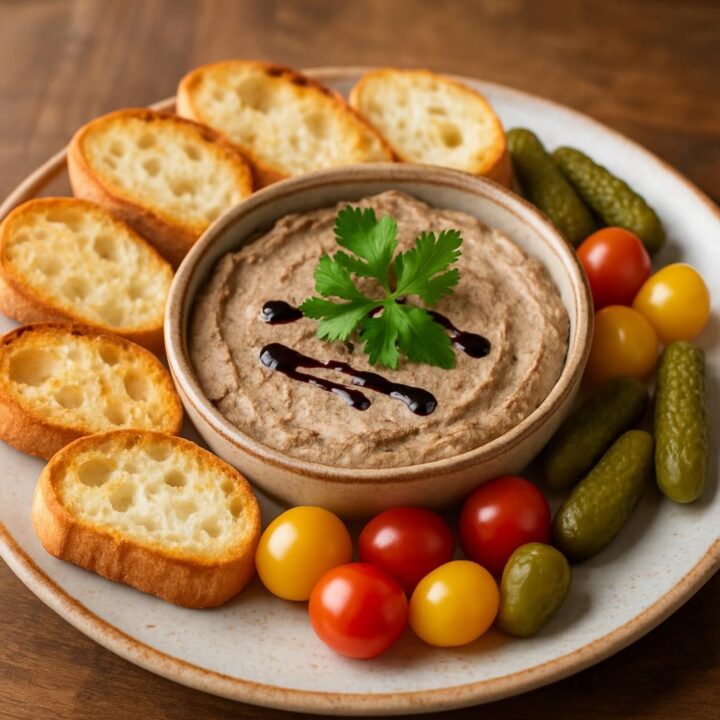
When it comes to serving Chicken Liver Pâté, presentation is key! Transfer the pâté into a stylish terrine or a small bowl. Garnish it with fresh herbs, such as parsley or chives, and serve alongside crusty baguette slices, crackers, or vegetable sticks for dipping. A drizzle of balsamic glaze or a sprinkle of freshly cracked black pepper can add a beautiful finishing touch. For an elegant touch, serve it on a wooden cheese board with various accompaniments like pickles, jams, and nuts.
Pairing Suggestions
Pair your Chicken Liver Pâté with a robust glass of red wine, such as a Cabernet Sauvignon or a fruity Merlot. For cocktail lovers, a classic gin and tonic can cut through the richness beautifully. If you prefer non-alcoholic options, a sparkling apple cider or a refreshing herbal tea can complement the dish nicely. As for sides, consider serving with a light salad dressed with vinaigrette or a sweet fruit chutney to balance the savory flavors.
How to Store
Leftover Chicken Liver Pâté can be stored in an airtight container in the refrigerator for up to three days. For longer storage, you can freeze the pâté in a freezer-safe container or wrap it tightly in plastic wrap followed by aluminum foil. It can last up to two months in the freezer. To reheat, simply let it thaw in the refrigerator overnight, and if you’d like, you can gently warm it in a water bath before serving.
Equipment Needed
To make Chicken Liver Pâté, you will need a good-quality sauté pan for cooking the livers and aromatics, and a food processor or blender for blending the mixture to creamy perfection. A spatula and measuring cups will also be handy. If you don’t have a food processor, a hand blender can work in a pinch, but you may need to blend in smaller batches.
Dietary Adaptations
For a vegan version, consider using sautéed mushrooms and a blend of nuts (like cashews) instead of chicken livers. Use coconut cream or a vegan butter substitute to achieve that creamy texture. If you need a dairy-free option, simply swap the butter for a dairy-free alternative. For nut-free adaptations, ensure you’re using safe substitutes and avoid any nuts in the recipe.
Seasonal Adaptations
In the spring and summer, fresh herbs like basil, dill, or tarragon can brighten the flavor profile of your Chicken Liver Pâté. In the fall and winter, consider adding warming spices like nutmeg or allspice to give it a cozy touch. You can also experiment with seasonal fruits like figs or pears to create a unique chutney to serve alongside the pâté.
Recipe FAQs
- Can I use frozen chicken livers? Yes, just ensure they are properly thawed and drained before using.
- How long should I cook the livers? Sauté them for about 5-7 minutes until just cooked through and slightly pink in the center.
- Can I substitute other types of liver? Yes, you can use beef or duck liver, but keep in mind they may require different cooking times.
- What if my pâté turns out grainy? This usually means it wasn’t blended enough. Make sure to blend until smooth, adding a little extra butter or cream if needed.
Chicken Liver Pâté
Chicken Liver Pâté is a luxurious and creamy spread that elevates any cheese board or appetizer platter.
Ingredients
- 1 pound chicken livers, cleaned and trimmed
- 1 medium shallot, finely chopped
- 2 cloves garlic, minced
- 4 tablespoons unsalted butter, divided
- 1 teaspoon fresh thyme leaves
- 1 tablespoon brandy (optional)
- Salt and freshly cracked black pepper, to taste
- Fresh parsley, for garnish
Instructions
- In a skillet over medium heat, melt 2 tablespoons of butter. Add the chopped shallots and sauté until they become translucent, about 3-4 minutes.
- Add the minced garlic and cook for an additional minute until fragrant.
- Increase the heat to medium-high and add the cleaned chicken livers to the skillet.
- Cook for 5-7 minutes, stirring occasionally, until the livers are browned on the outside but still slightly pink in the center.
- Stir in the thyme, brandy (if using), salt, and pepper. Remove from heat and allow to cool for a few minutes.
- Transfer the liver mixture to a food processor.
- Add the remaining 2 tablespoons of butter and blend until smooth and creamy. Adjust seasoning as necessary.
- Spoon the pâté into a serving dish, smoothing the top.
- Cover with plastic wrap and refrigerate for at least 2 hours or overnight to allow flavors to meld.
- Serve chilled, garnished with fresh parsley. Enjoy with bread, crackers, or fresh vegetables.
Nutrition Information:
Yield: 8 Serving Size: 1Amount Per Serving: Calories: 155Total Fat: 9gSaturated Fat: 5gTrans Fat: 0gUnsaturated Fat: 4gCholesterol: 334mgSodium: 118mgCarbohydrates: 2gFiber: 0gSugar: 0gProtein: 14g
Chickenrecipes.blog, occasionally offers nutritional information for recipes contained on this site. This information is provided as a courtesy and is an estimate only. This information comes from online calculators. Although allchickenrecipes.com attempts to provide accurate nutritional information, these figures are only estimates.
Final Thoughts
Making Chicken Liver Pâté is not only a rewarding culinary experience but also a delicious way to impress your friends and family. With its rich flavors and creamy texture, it’s a dish that invites conversation and complements any gathering. Don’t be intimidated by the idea of making pâté; with a few simple ingredients and techniques, you can create a gourmet treat that will have everyone asking for seconds. So roll up your sleeves, gather your ingredients, and enjoy the process of creating this delightful spread!