Ever find yourself sneaking the crispy skin off roast chicken before it hits the table? I admit, I’m absolutely guilty. There’s just something so satisfying about that salty, crackly bite.
That’s why I love making these simple chicken skin chips. They’re basically my answer to using every bit of the bird—turning leftover skins into the kind of snack that disappears faster than a bag of chips.

They’re light, savory, and so crunchy you can hear them crack when you bite in. Best of all, you only need two ingredients, and you can cook them in either the air fryer or oven.
If you’re someone who hates food waste as much as I do, this is a recipe you’ll want in your back pocket.
Why These Chips Are My Favorite Snack Hack
I love recipes that do double duty. Here, you’re turning something you might toss away (the skins from thighs or breasts) into the star of the show. It’s like frugality and indulgence got married.
These chips are naturally low-carb, gluten-free, and fit with paleo or keto eating if you care about that sort of thing. But I make them just because they’re delicious.
They have that potato-chip-level crunch but way more flavor. I often keep a batch on the counter for grazing, but honestly, they rarely last an hour around here.
Where I Get Chicken Skins
Most grocery stores won’t sell you just the skins (I’ve asked—they look at you funny).
So I usually plan ahead: if I’m making something like butter chicken or marinated baked thighs where I want skinless pieces, I’ll save the skins in a freezer bag until I have enough to make a tray.
If you prefer breast meat, you can use those skins too, though thigh skin is a bit fattier and crisps even better in my experience.
It feels good to know you’re getting the most out of what you buy. Nothing wasted.
Stovetop? Air Fryer? Oven? My Thoughts
I’ve tried them every way.
Stovetop: Works, but they splatter like crazy. I’ve burned myself more than once, and they tend to curl up if you don’t keep pressing them down. It’s a bit high-maintenance for me.
Air Fryer: Perfect for small batches. Quick, even crisp, less mess. But space is limited. I can usually do only three or four skins at a time.
Oven: My go-to when I have a pile of skins to cook. I can do a whole tray at once, and cleanup’s easy if I line the tray with foil or parchment.
No matter how you cook them, the trick is letting the fat render out so they get shatteringly crisp.
Clean-Up Tricks From My Kitchen
I’m not a big fan of scrubbing pans for ages. So I always line the bottom of my air fryer with foil or parchment (check your model to see if that’s okay), or I do the same with my rimmed baking sheet in the oven.
When I’m done, I just lift out the liner and toss it. No scrubbing congealed chicken fat. Small victories make home cooking more sustainable.
Seasoning Them Just Right
I keep it dead simple when cooking—just salt before they go in.
I learned the hard way that spices burn at high heat. Nothing like spending 20 minutes making the perfect chip only to have the garlic powder turn to black dust.
Once they’re cooked, though, that’s when I go wild. I’ve shaken on:
- Smoked paprika
- Freshly cracked black pepper
- Onion powder
- Nutritional yeast for a savory, cheesy vibe
- Even a pinch of chili powder for heat
The world is your spice rack after they’re crispy.
Ingredients — The Bare-Bones List
This is about as simple as it gets:
- 8 chicken skins (I usually gather them from thighs over a couple of meals)
- Salt (I prefer kosher salt—it’s forgiving and easy to pinch)
That’s it. If you’ve got these, you’re in business.
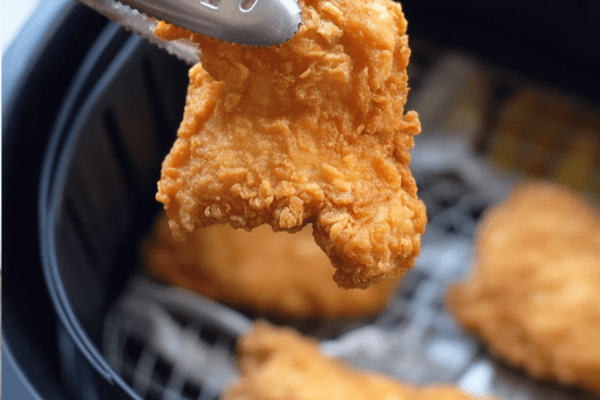
How I Make Them in the Air Fryer
1. Pat dry and salt.
I use a paper towel to get them really dry. Moisture is the enemy of crisp. Then I season both sides with salt.
2. Air fry at 400°F for 12 minutes.
I lay three or four skins in a single layer, skin-side down. About halfway through (6 minutes), I flip them over.
If they’re still a little floppy at the end, I add another minute or two until they’re deeply golden.
3. Cool on a rack.
This keeps them crispy while they finish hardening up.
4. Repeat if needed.
If I’m doing a big batch, I dump out the rendered fat from the bottom and start again.
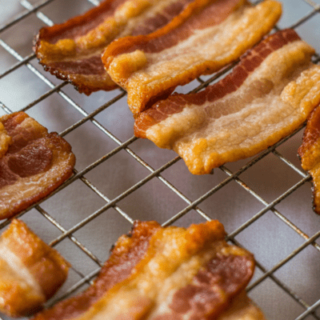
How I Bake Them in the Oven
1. Preheat the oven.
400°F convection or 425°F if you don’t have convection.
2. Prep the tray.
Line a rimmed baking sheet with foil. Place a stainless steel wire rack on top. Lay the skins in a single layer, skin-side down.
3. Bake for 10 minutes.
Flip them carefully with tongs so they’re skin-side up.
4. Bake another 10 minutes.
Or until they’re that perfect golden-brown crisp.
Cooling them on a rack helps them firm up nicely.
My Favorite Ways to Eat Them
Honestly, I snack on them plain most of the time. But they’re magic with:
- A smear of guacamole
- Spicy salsa
- Caesar dressing (think crouton substitute)
- A favorite hot sauce
They’re also fantastic crumbled over salads for crunch without croutons. I’ve even used them to top creamy soups when I want something salty and crispy on top.
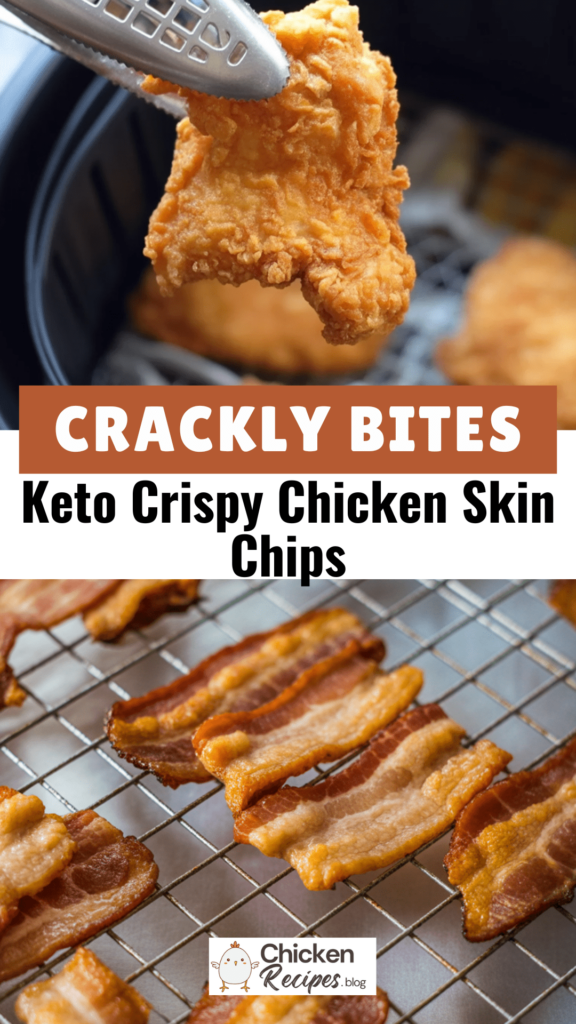
Keto Crispy Chicken Skin Chips
If you’ve ever pulled a perfectly roasted chicken from the oven and snuck a bite of that crackly golden skin, then this snack is for you.
Ingredients
- 8 pieces of chicken skin (thighs work best)
- ½ teaspoon kosher salt (Diamond Crystal preferred)
Instructions
- Air Fryer Method : Place 3–4 chicken skins in a single layer, skin-side down, into the air fryer basket.
- Cook at 400°F for 12 minutes total.
- After 6 minutes, flip the skins over so the skin side faces up.
- Continue cooking for another 6 minutes. If any spots seem soft or rubbery, add another minute or two.
- Transfer the cracklings to a cooling rack to crisp up further.
- Carefully discard any rendered fat from the air fryer before repeating the process with the remaining skins.
- Oven Method : Preheat your oven to 400°F with convection or 425°F without. Position a rack in the center.
- Arrange the skins, skin-side down, on a wire rack set over a foil-lined baking sheet.
- Bake for 10 minutes.
- Flip the skins so they’re now skin-side up and bake for another 10 minutes or until they’re golden brown and crispy.
Nutrition Information:
Yield: 4 Serving Size: 1Amount Per Serving: Calories: 508Total Fat: 46gSaturated Fat: 13gTrans Fat: 0gUnsaturated Fat: 29gCholesterol: 93mgSodium: 230mgCarbohydrates: 0gFiber: 0gSugar: 0gProtein: 23g
Chickenrecipes.blog, occasionally offers nutritional information for recipes contained on this site. This information is provided as a courtesy and is an estimate only. This information comes from online calculators. Although allchickenrecipes.com attempts to provide accurate nutritional information, these figures are only estimates.
How I Keep Leftovers (If There Are Any)
Truth is, they’re best the day you make them. That perfect shatter can get a little rubbery overnight.
But if I do have a few left, I store them in an airtight container on the counter. Adding one of those little desiccant packets (like you find in seaweed snacks) helps keep them from going limp for an extra day or so.
That said, I usually just eat them all while standing at the counter. They don’t tend to last.
If you give this a try, you might find yourself planning extra chicken dinners just to have leftover skins. It’s the kind of no-waste, all-flavor recipe that feels old-fashioned in the best way.
Try other Keto recipes: